Plugged In and Dialed Back: Blender vs Unreal Materials on a Metahuman
After spending weeks navigating the depths of photogrammetry, grooming workflows, and texture cleanup, I hit the next logical checkpoint in the Metahuman project: materials.
This time around, I wanted to break down a subtle but critical part of the workflow—the difference between plugging in the materials in Blender versus Unreal Engine, and how those materials behave when paired with hair. Let’s just say… not all render pipelines are created equal.
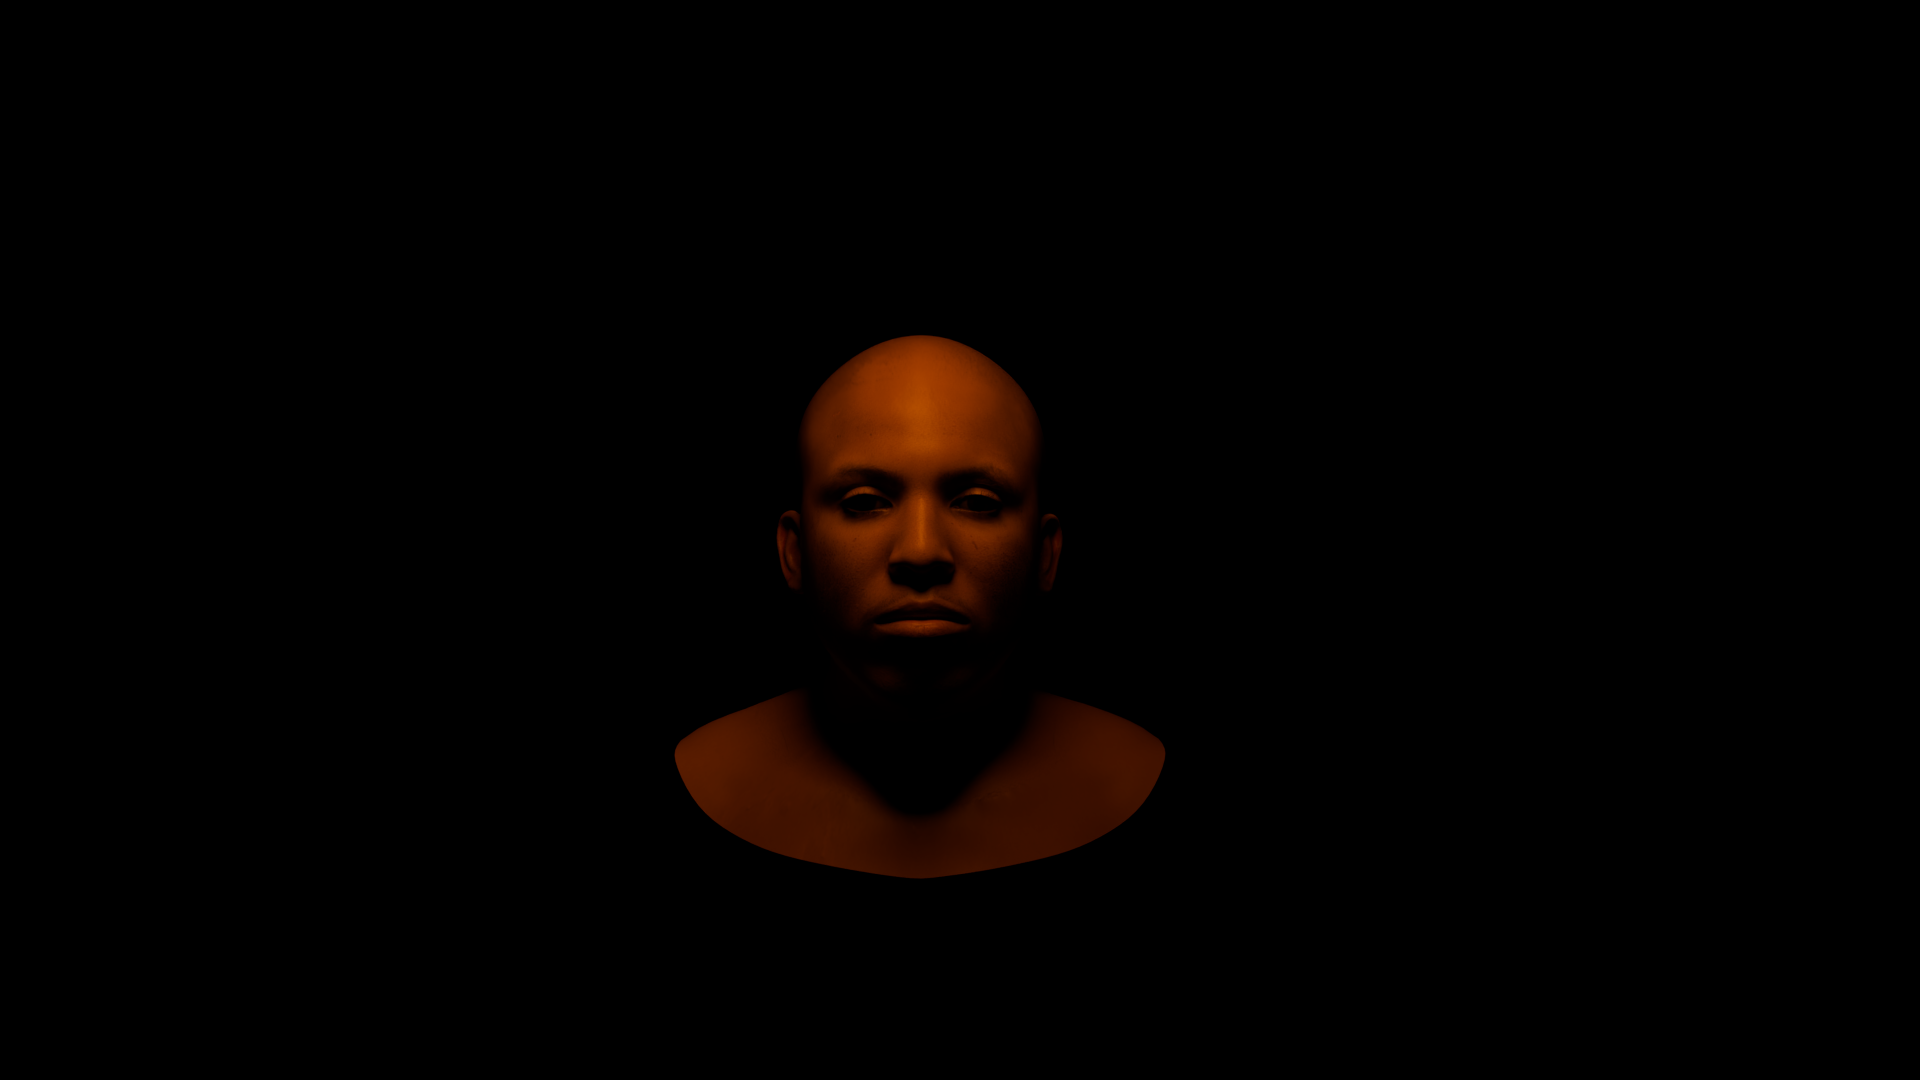
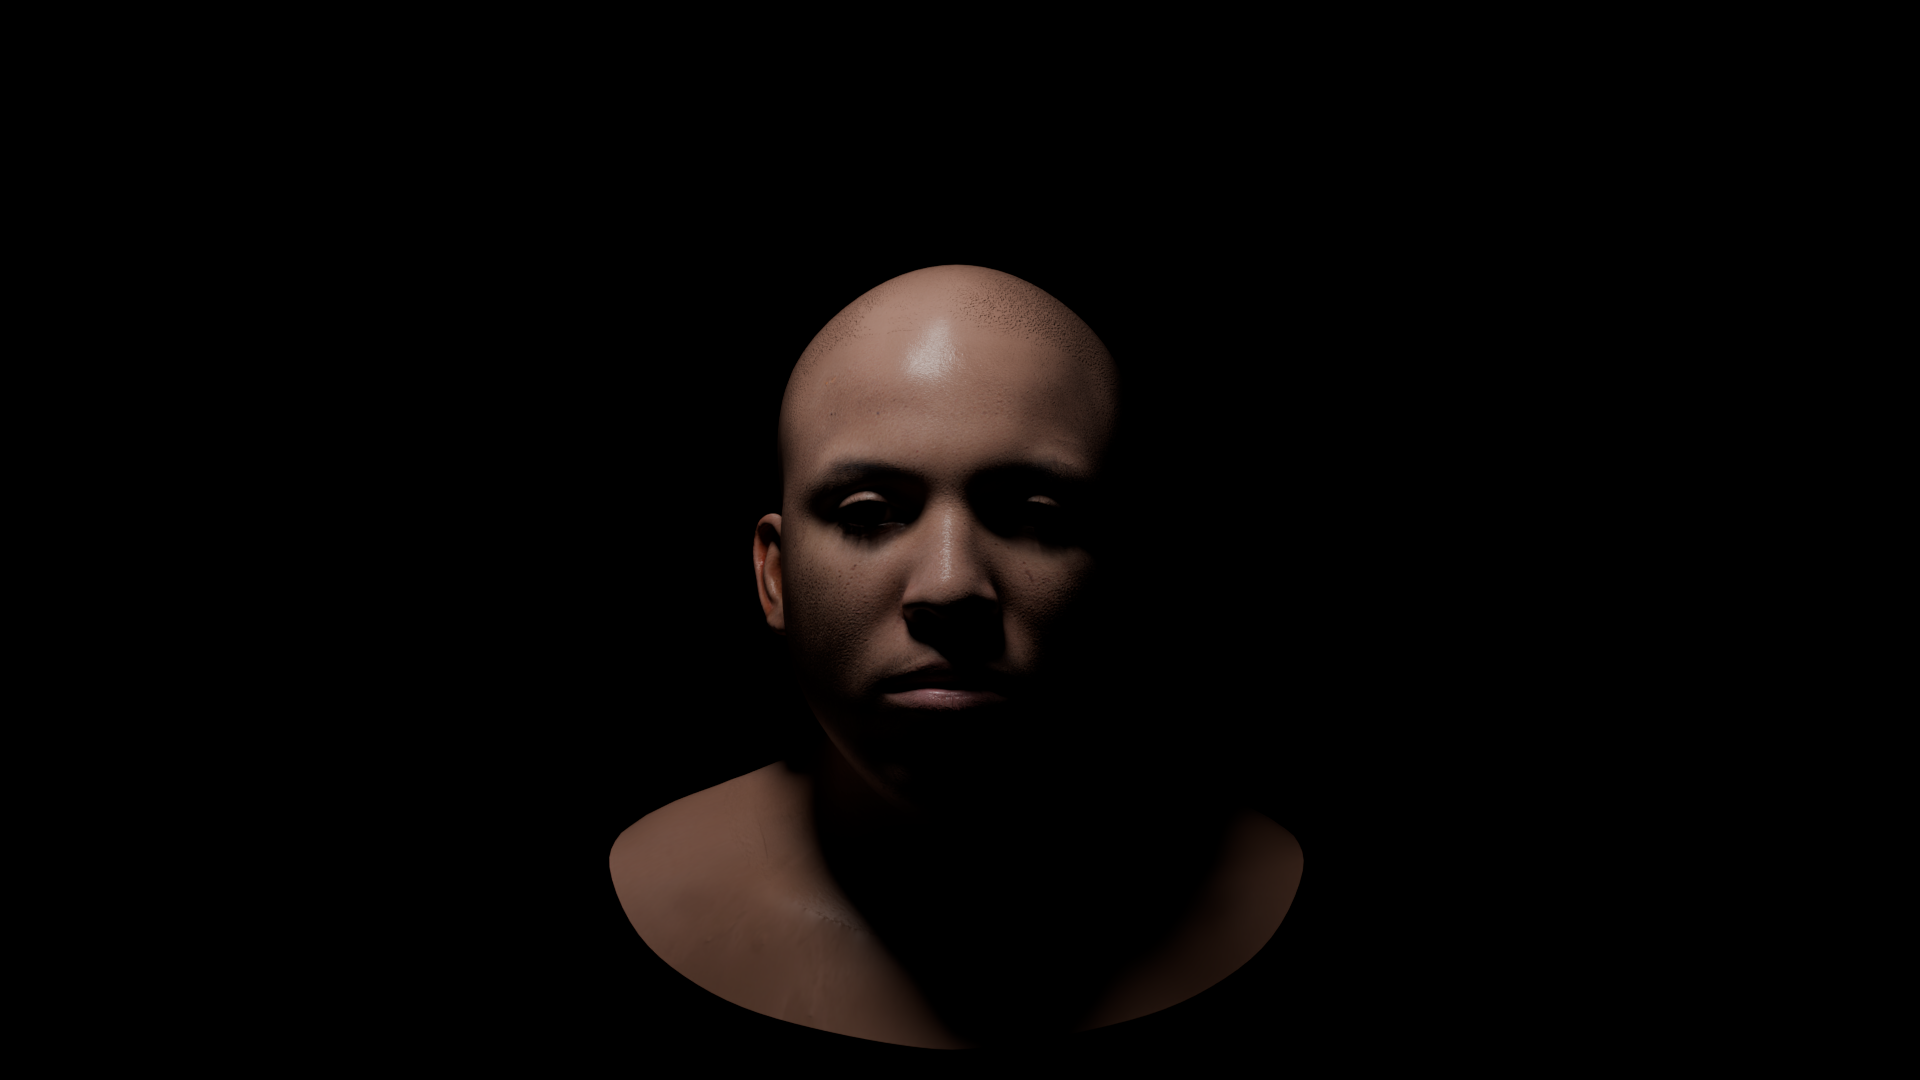
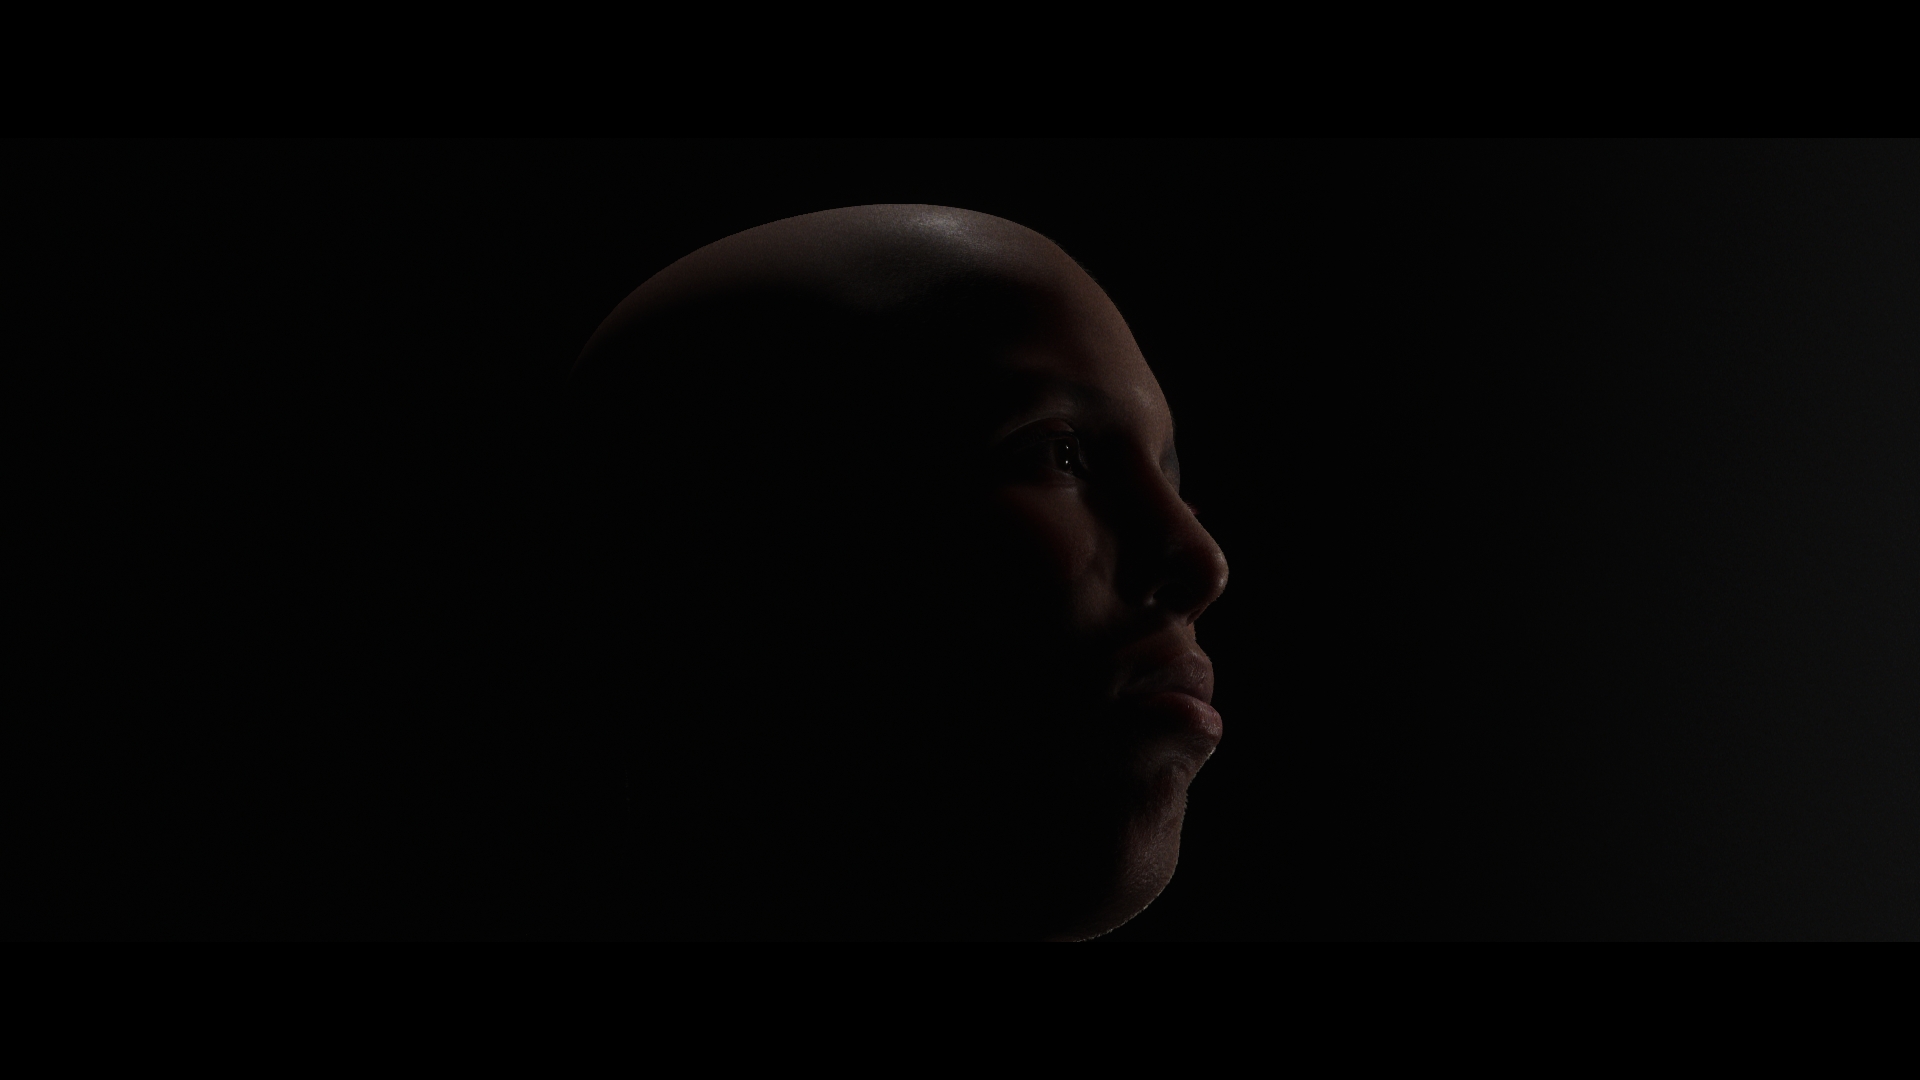
Blender – Raw and Real
Blender has always been my testing ground. It’s where I experiment, troubleshoot, and break things until I understand why they broke. When I imported the Metahuman mesh and plugged in the skin materials, the results were okay—not bad, not great. You get realism, but it’s raw. You’re working without UE’s lighting engine, so the textures look flatter, the subsurface scattering is less forgiving, and the specular highlights don’t pop quite the same way.
Setting up shaders in Blender was more manual. I used basic Principled BSDF nodes for the skin and layered them with the cleaned-up XYZ textures. The results were solid for checking alignment and broad color fidelity, but Blender’s viewport and rendering didn’t quite do justice to the finer subsurface tones or real-time lighting behavior.
When it came to hair materials, I used the Geometry Nodes setup I’d built before. The hair rendered better than expected, but still felt more stylized—like a concept pass rather than the final shot.
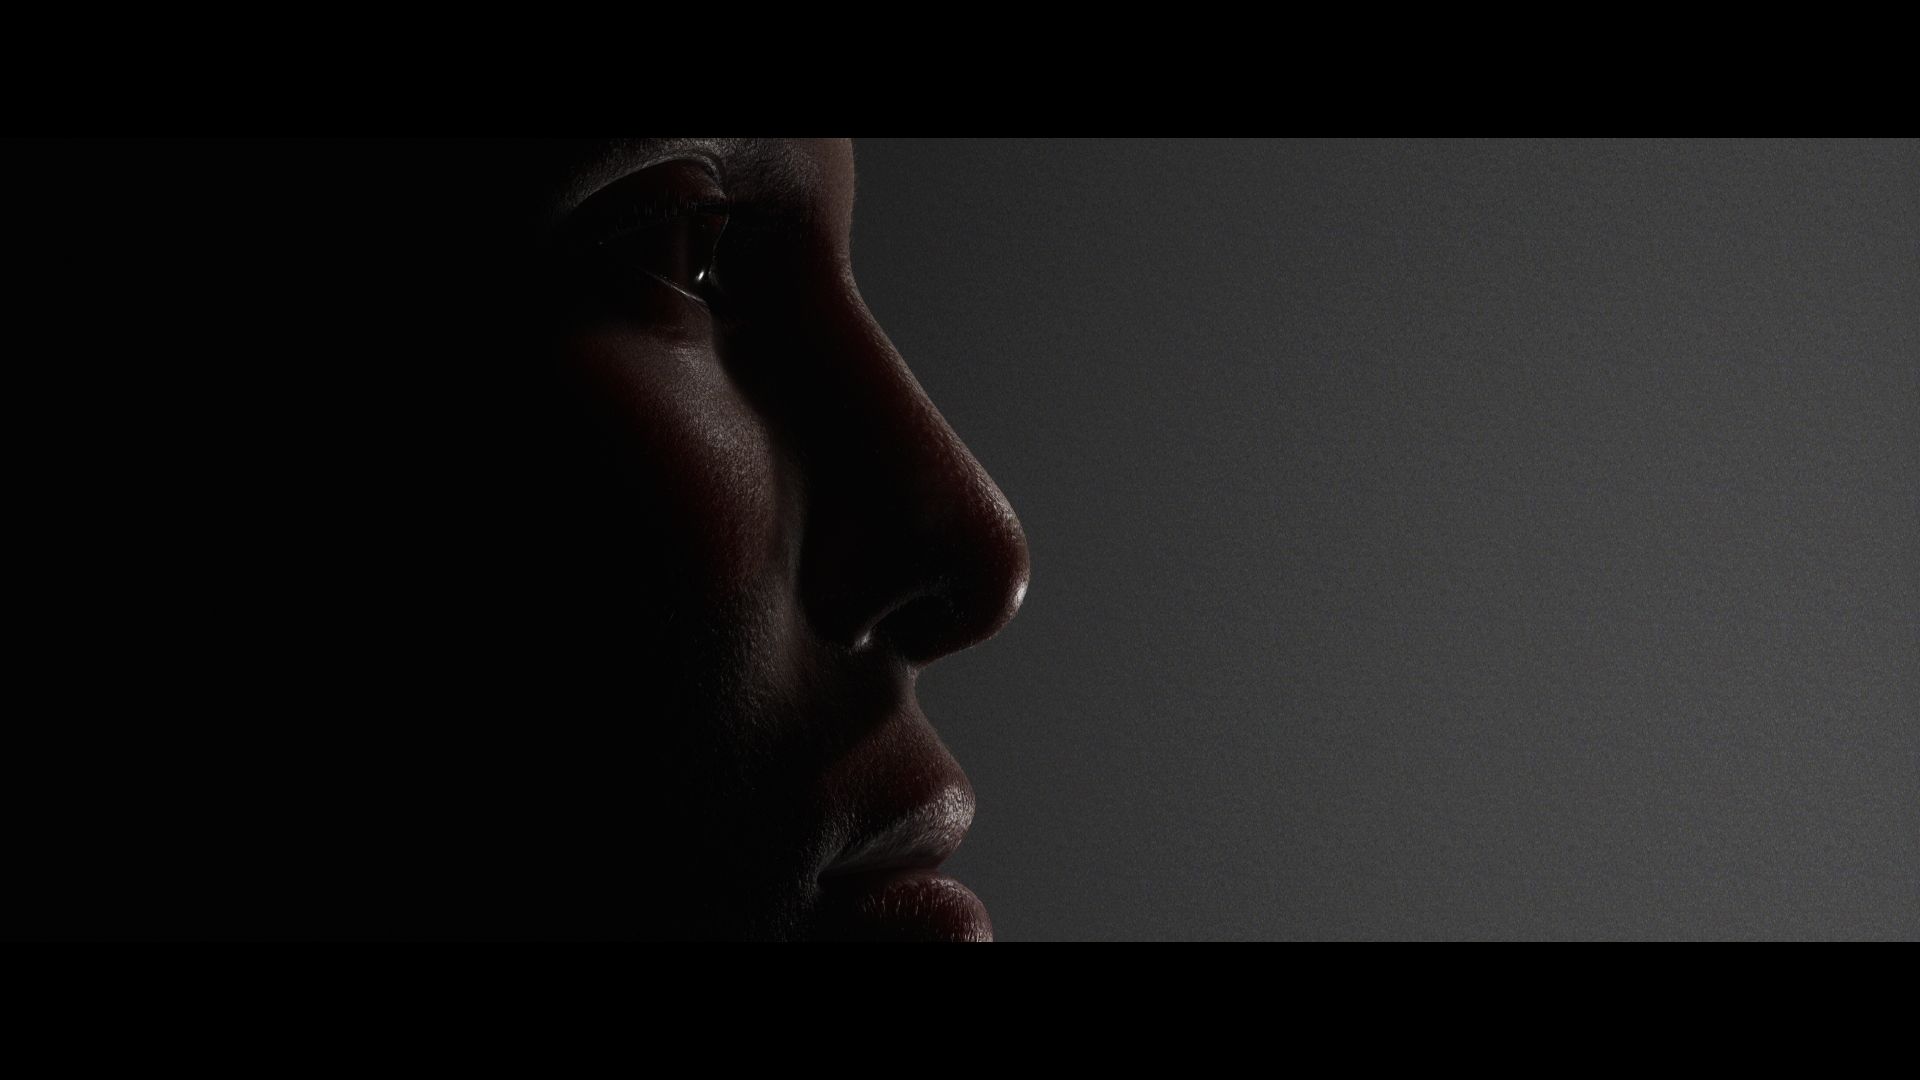
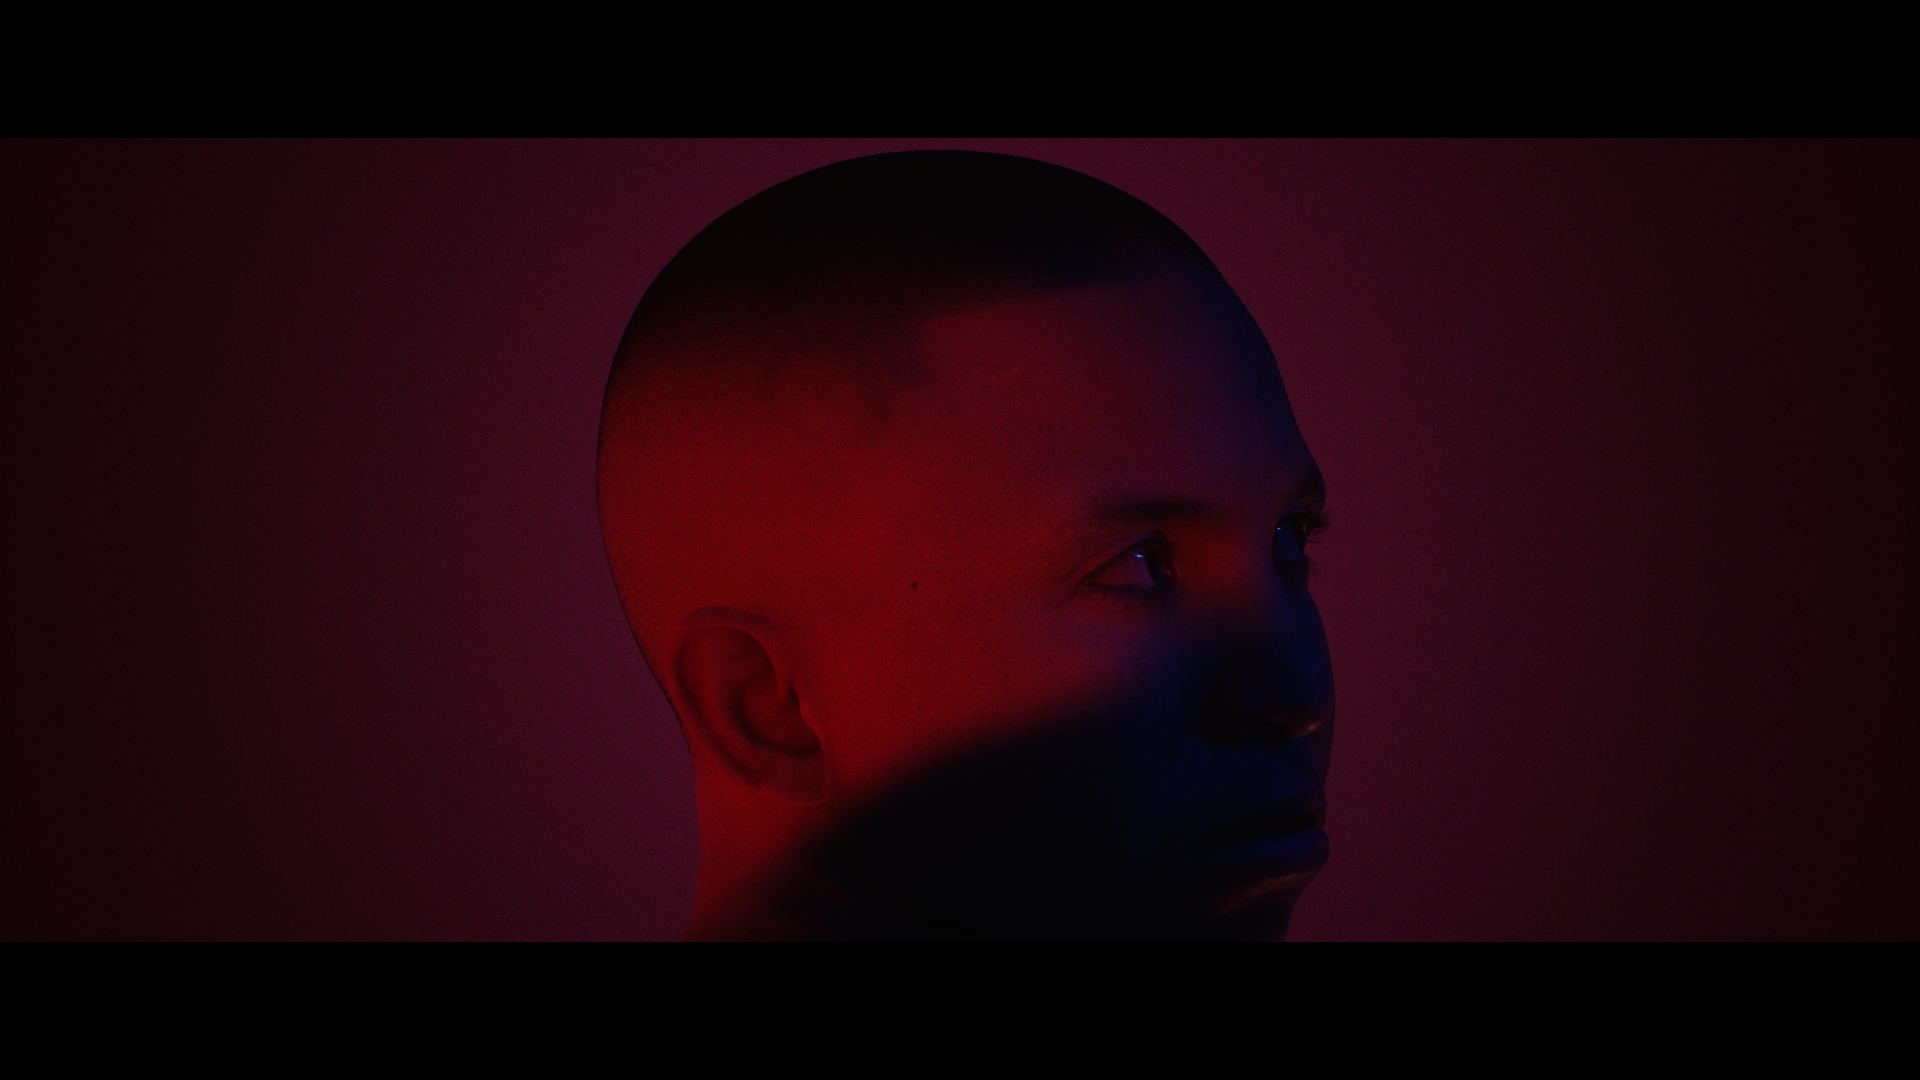
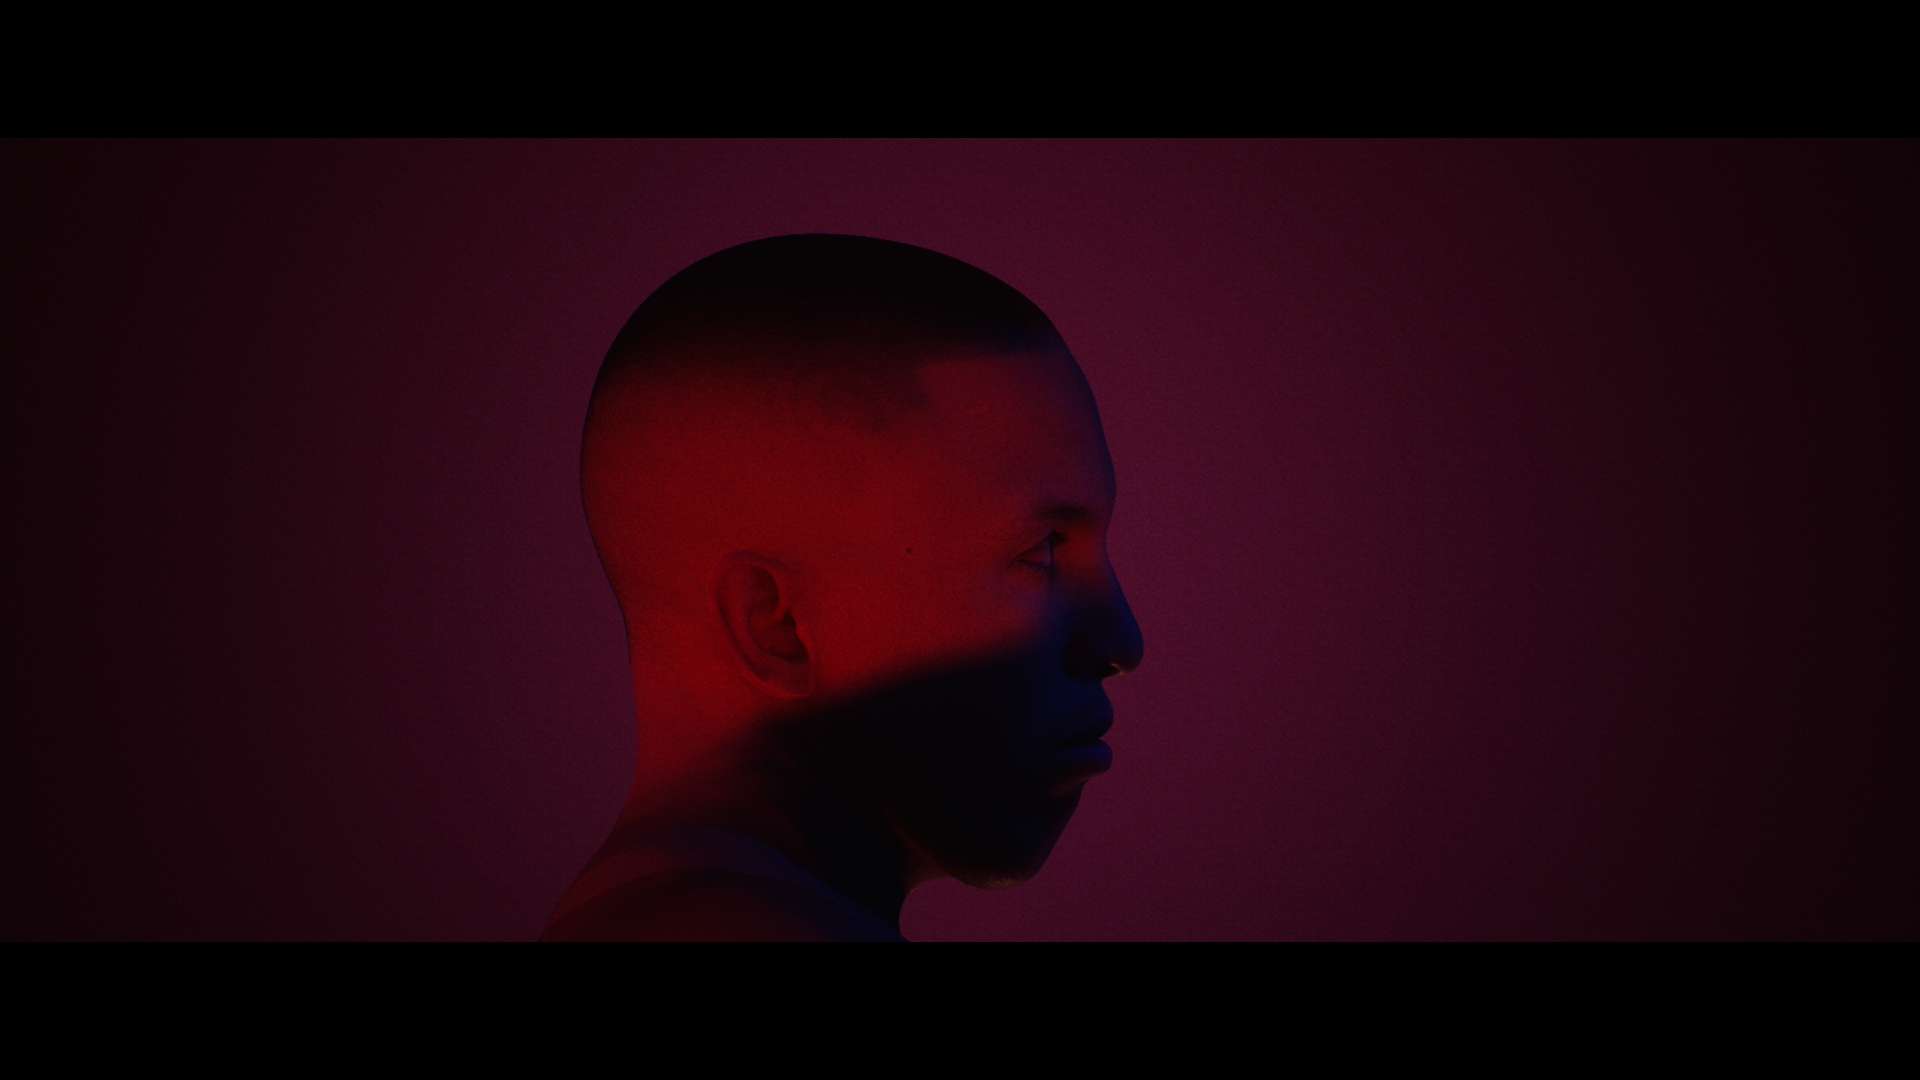
Unreal Engine – The Glow Up
Then came Unreal Engine, and it felt like the Metahuman finally woke up. Once I plugged in the same textures using the Metahuman base shaders, everything changed. The skin had depth, microdetail started breathing under light, and the eye reflections sold the realism immediately.
The real turning point was applying the hair materials inside Unreal. I used the default Metahuman hair shader but tweaked a few values—scattering, roughness, and root tint—and the results were insane. Under proper lighting rigs, the hair strands didn’t just render—they responded. You could see the softness near the roots, the specular shift as the camera moved, and subtle wind simulation gave it life.
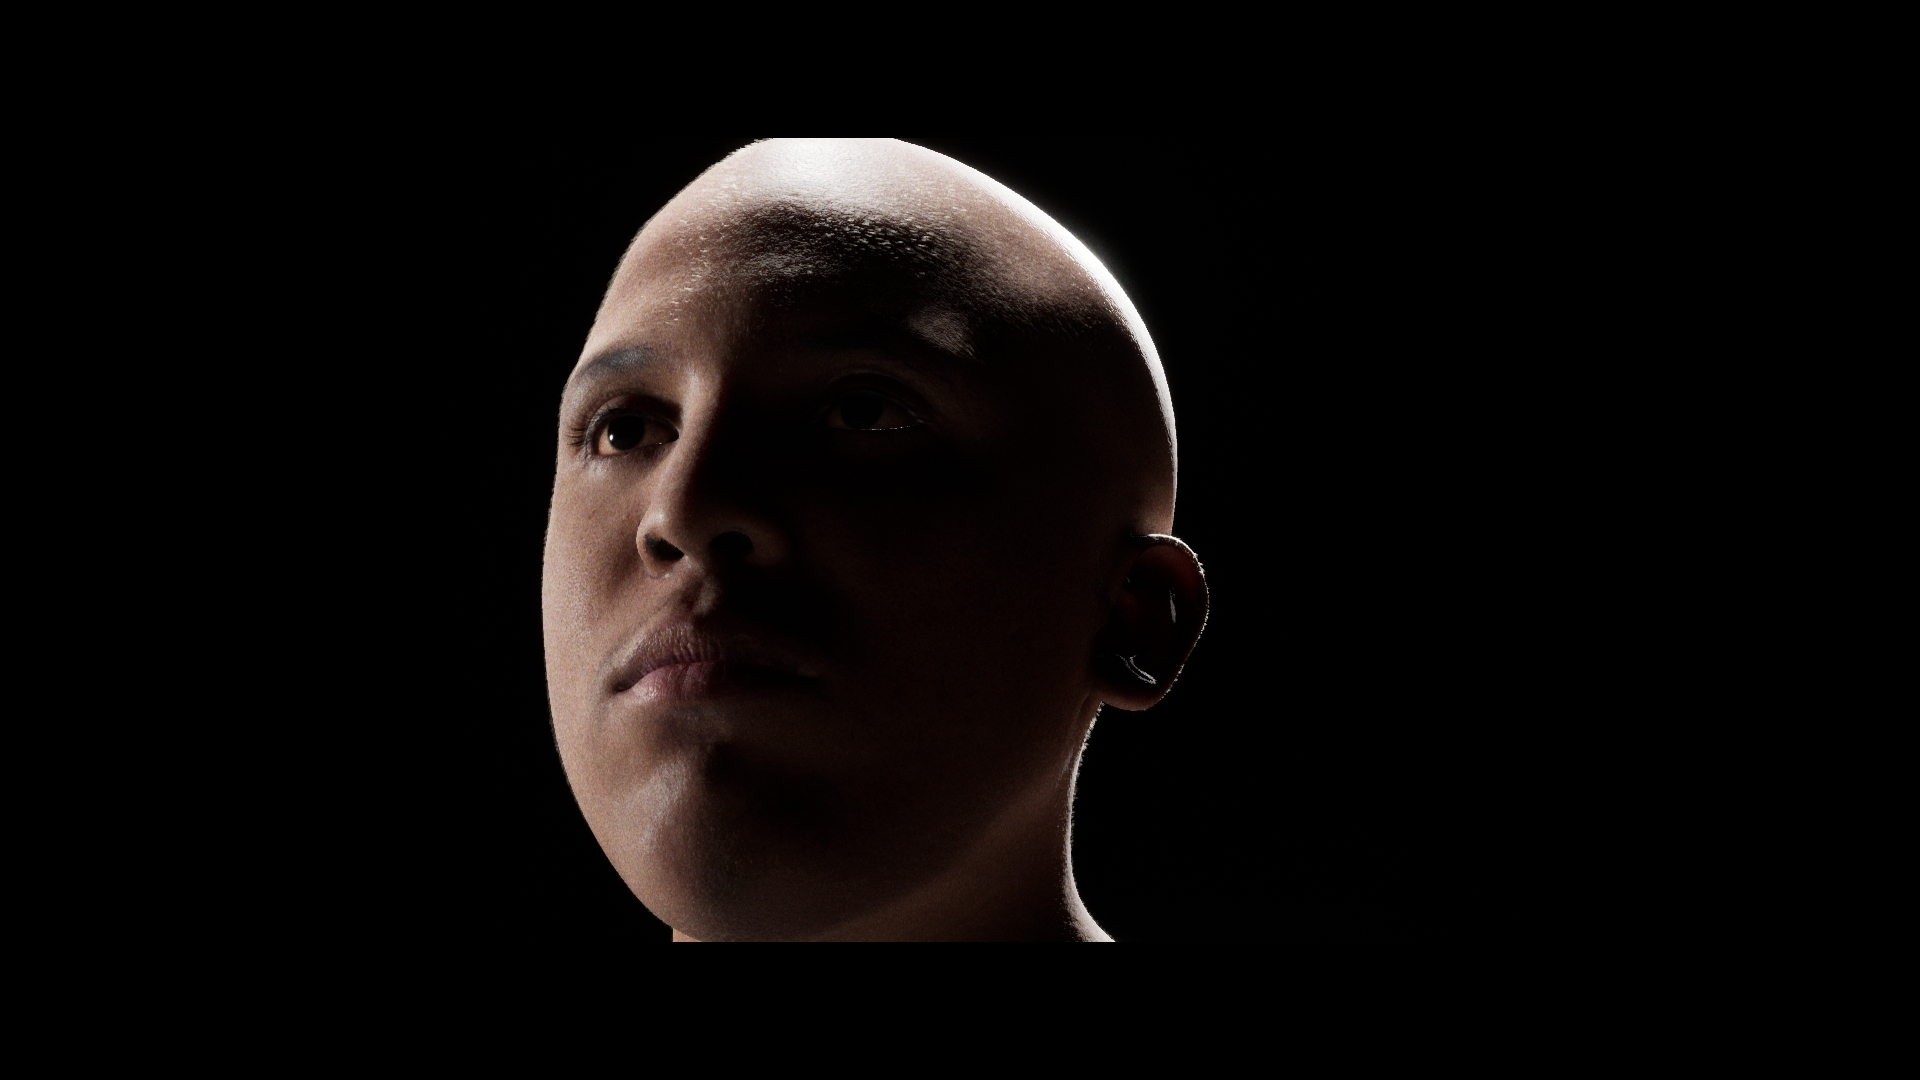
What looked like “good enough” hair in Blender instantly became film-grade hair in Unreal.
The Big Takeaway
Both tools serve their purpose. Blender is your test lab. It’s where you make mistakes, paint textures, dial in geometry, and get a base feeling for form. Unreal Engine is where everything feels alive. It’s the stage where lighting, materials, and hair shaders finally breathe.
So if you’re like me—building photoreal characters with evolving pipelines—Blender is your prep kitchen. Unreal is the plating table.
Pivoting Toward Procedural: Houdini, Materials & the Next Step
Now that I’ve had time to ground the Metahuman in both Blender and Unreal, I’m shifting my focus to Houdini. I’ve been studying its workflow, diving into procedural concepts, and seeing how I can harness that power for my long-term goal: a full-on sci-fi film that doesn’t just look good—it scales.
Houdini feels like the next evolutionary step. The non-destructive workflows, node-based logic, and scene-building flexibility are exactly what I need for Voidstalker. But, like every new tool, it comes with its own learning curve—and familiar hurdles.
Still Facing the Material Gap
My biggest challenge right now? Material realism.
I haven’t yet found a way to match Unreal’s built-in Metahuman shaders—or export and recreate them cleanly—in Houdini. It’s the same wall I hit with Blender. Skin shaders, eye detail, subsurface scattering… Unreal just nails it out of the box. Rebuilding that same feel in Houdini’s Karma or Mantra is possible, but it’s a rabbit hole.
Rigging Transfers & Pipeline Exploration
On the rigging side, there’s light at the end of the tunnel. I’ve tested a few Blender plugins that convert Unreal facial rigs for use in Blender. Recently, I found some new add-ons that not only bring over both facial and body rigs, but also make them clean enough to convert into Houdini rigs.
That opens up some really interesting pipeline possibilities:
• Unreal → Blender for rigging & edits
• Blender → Houdini for procedural scene building
• Houdini → back to Unreal for final render
Still in the exploratory phase, but it’s coming together. Slowly.
Where It’s Going
This stage of the process isn’t about perfect outputs—it’s about building the scaffolding that holds up everything else. The tools are becoming more connected. The goal is clearer. And even when I don’t have all the answers yet, I’m learning what questions to ask next.
I’m documenting all of this not just for the project, but for others building their own workflows from scratch. Whether you’re working in Blender, Unreal, Houdini, or something in between—don’t be afraid to pivot. Sometimes the best pipeline is the one you haven’t built yet.
More soon.
Let me know if you want to turn this post into a visual breakdown or include comparison images. It could also make a great video log update.